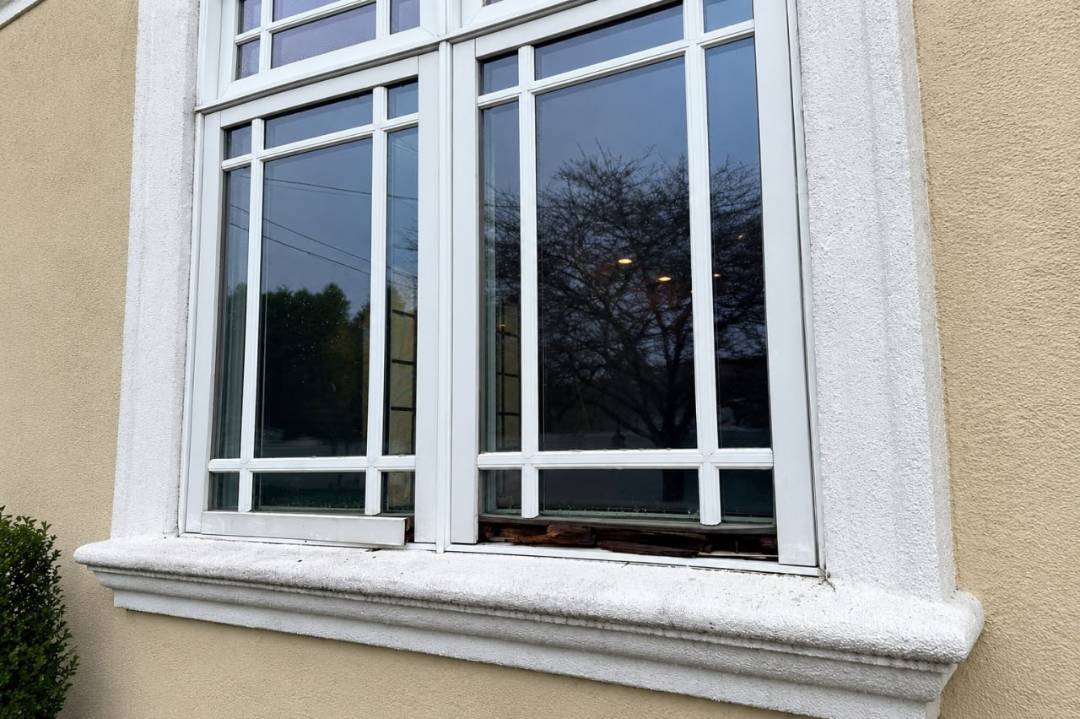

Caulking around a window is easy to overlook. It forms a narrow seal between the frame and the surrounding wall, but when that seal cracks or separates, water and air can find a way inside. Over time, even a small gap can contribute to moisture damage, drafts, and deterioration around the window opening.
For homeowners on Long Island and elsewhere in New York, checking window caulking is an important part of exterior maintenance. A failed seal does not necessarily mean the window itself is damaged, but identifying the problem early can help prevent more extensive repairs.
Signs Your Windows Need Recaulking
Exterior caulk is exposed to sunlight, rain, temperature changes, and movement between different building materials. Over time, it can become brittle, crack, shrink, or pull away from the window frame.
Common problem areas include the corners of the frame, joints between the window and siding, and sections where the old seal has separated from the surface. On older homes, several layers of old caulk may also hide gaps underneath. Applying a new bead over deteriorated material does not always solve the underlying problem.
Warning signs that a window may need recaulking include:
- Visible cracks or gaps in the caulk
- Sealant that has become hard, brittle, or loose
- Missing caulk around corners and joints
- Peeling paint or discoloration near the frame
- Water stains around interior window trim
- Noticeable drafts near the window
A small gap may be easy to spot, but water can travel behind exterior trim before an interior stain becomes visible. That is why inspecting the full perimeter of the window is important.
Common Reasons Window Caulk Fails
One of the most common causes of caulk failure is prolonged exposure to weather. Repeated heating and cooling can cause building materials to expand and contract, putting stress on the seal between the window and the surrounding wall.
Poor surface preparation can also shorten the life of a new bead of caulk. If the old material is loose, the joint is dirty, or the surface is damp, the new sealant may not adhere properly. Using a product that is unsuitable for the joint or exterior conditions can create similar problems.
In other cases, the seal fails because the surrounding materials have deteriorated. Damaged wood, loose trim, or movement around the window opening may prevent the caulk from maintaining a reliable seal. When the same area repeatedly develops cracks, the cause should be investigated rather than simply covered with more sealant.
Window Recaulking for Older Homes
Small, accessible areas can sometimes be handled as routine home maintenance. The surface should be clean and dry, and loose or failed material should be removed rather than covered. The new bead must form a continuous seal and adhere properly to the intended surfaces.
However, DIY recaulking is not always the right approach. If the surrounding wood feels soft, the frame is deteriorated, water is entering behind the trim, or the sealant is failing across multiple areas, the window should be inspected before new caulk is applied.
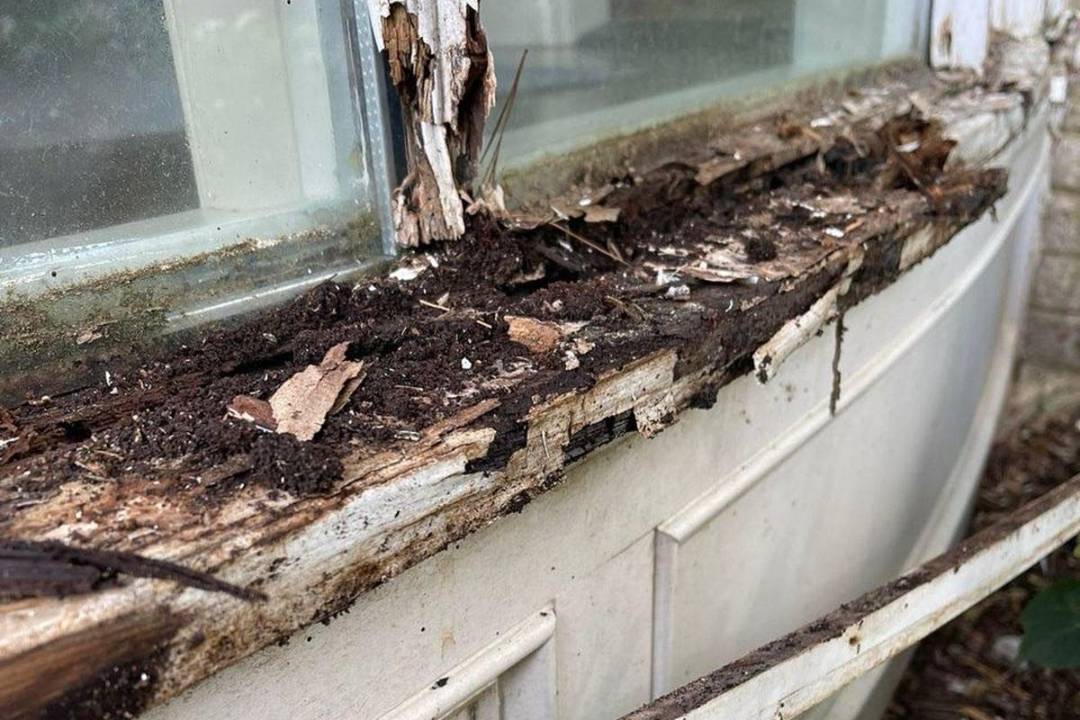
Older wood windows require particular attention because visible seal failure may be accompanied by hidden moisture damage. Replacing the caulk without addressing deteriorated wood or loose joints can leave the underlying problem unresolved.
Proper Preparation Before Applying New Caulk
New caulk cannot compensate for damaged wood or a wet substrate. Before resealing a window, the condition of the surrounding materials should be checked.
Depending on the window, preparation may involve removing failed caulk, cleaning the joint, allowing the surface to dry, and addressing damaged wood or loose trim. The replacement sealant should be appropriate for the materials and the exterior conditions.
It is also important to apply the new bead carefully. Gaps at corners or uneven contact with the surrounding surfaces can create weak points where moisture may enter. Following the sealant manufacturer’s instructions for application and curing helps ensure that the material has the conditions it needs to perform as intended.
With older windows, preparation is especially important. A cracked seal may be only the visible part of a larger moisture problem, so the frame and adjacent trim should be assessed before the work is considered complete.
When Recaulking Is Enough — and When It Isn’t
Recaulking makes sense when the window and surrounding materials remain in good condition and the primary problem is a failed exterior seal. In these situations, removing the deteriorated material and applying a suitable replacement may help restore the seal between the frame and the wall.
If there is wood rot, damaged trim, loose glazing, or deterioration inside the frame, applying caulk alone will not correct it. The damaged component needs to be addressed first. Caulk should not be used to conceal structural deterioration or fill areas that require a different type of repair.
For homeowners dealing with deteriorated or failed seals, professional window recaulking services can help assess the condition of the joint and determine whether resealing is appropriate. The exact repair depends on the source and extent of the damage.
Regular Window Caulking Inspection and Maintenance
There is no single inspection schedule that fits every home. Instead, check the caulk when inspecting exterior paint, trim, glazing, and other areas exposed to weather. Pay particular attention after heavy rain and during seasonal maintenance.
Look for new cracks, gaps, loose edges, peeling paint, and signs of moisture around the frame. If the same area repeatedly develops problems, investigate the cause instead of applying fresh caulk each time.
For Long Island homeowners, window caulking may seem like a minor maintenance detail, but it plays an important role in protecting the window assembly from the elements. Regular inspection and timely repairs can help identify seal failure before it contributes to more extensive moisture damage.